
A bathtub that drains slowly can turn a relaxing shower into a frustrating chore. In many cases, the problem starts with the drain stopper, where hair, soap residue, and mineral buildup can collect over time. Knowing how to remove bathtub stopper components correctly can make cleaning and basic maintenance much easier.
Whether you have a push-pull drain, toe-touch drain, pop-up drain, or trip-lever drain, the removal process is usually manageable with a few basic tools and some patience. This guide explains how different stopper styles work, how to remove them safely, and what to do when the tub drain needs more attention. If you’re unsure about the parts or don’t want to risk damaging your bathroom fixtures, Upfront Bathrooms can help you handle the job professionally.
How to Remove Bathtub Stopper Safely
Before you start, identify your bathtub stopper type. Different designs use different mechanisms, so forcing the wrong part can damage the stopper set or the drain assembly.
Look closely at the top of the stopper. You may see a knob, a small handle, or a lever connected to the overflow drain. Some designs simply twist out, while others require you to loosen a screw or remove an attached assembly.
Place a towel around the work area before beginning. This protects the bathtub surface and gives you a clean place to set small parts. If you’re working near faucets or other bathroom accessories, keep your tools organized so nothing gets misplaced.
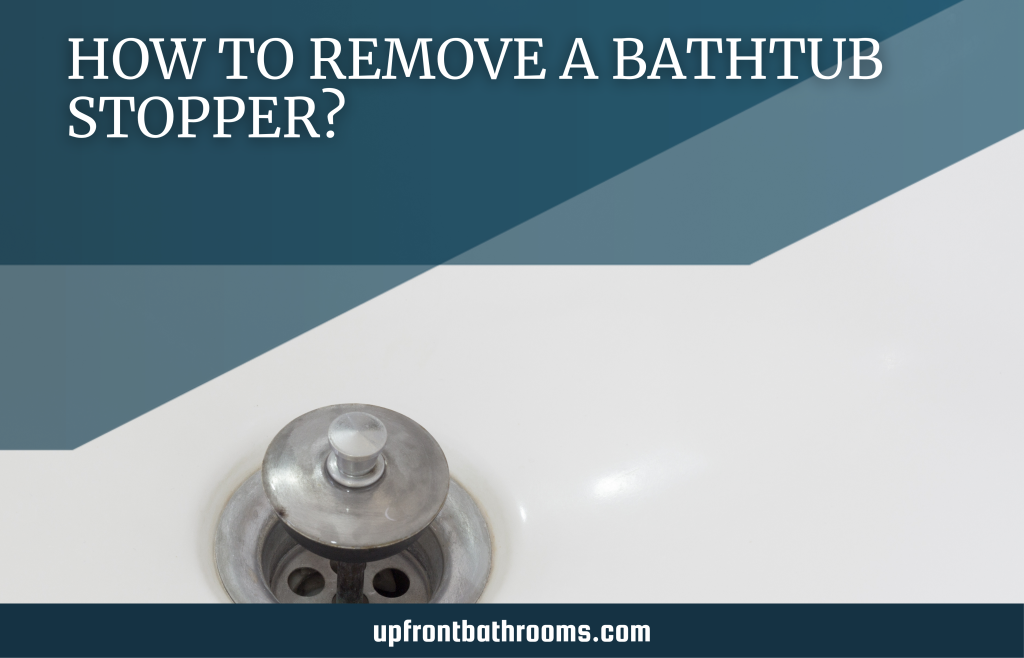
Check the Drain and Stopper Type
Understanding the stopper style makes the process much easier. Several common bathtub designs are found in homes, and each has a slightly different removal method.
A push-pull drain typically has a stopper that opens and closes when you pull or push the top. A toe-touch drain operates by pressing the stopper with your foot. A flip-lever design uses a small lever to control the drain mechanism.
Common bathtub stopper types include:
- Push-pull drain stoppers
- Toe-touch drain stoppers
- Trip-lever and flip-lever drains
- Pop-up drain assemblies
- Lift-and-turn stoppers
If your stopper is connected to an overflow drain, the mechanism may extend behind the bathtub wall. Upfront Bathrooms recommends identifying the full assembly before pulling anything, especially if the stopper hasn’t been removed in years.
Remove a Push-Pull Drain Stopper
A push-pull drain is one of the simpler styles to remove. Start by placing the stopper in the open position. Hold the body of the stopper firmly and try turning it counterclockwise.
Some models twist out directly, while others have a small set screw underneath the knob. If you see a screw, loosen it carefully with the appropriate screwdriver before lifting the stopper away.
Avoid using excessive force. If the stopper won’t turn, mineral deposits or corrosion may have built up on the threads. Pliers can help with a stubborn component, but wrap the part with a cloth first to reduce the chance of scratching the finish.
Once removed, inspect the stopper and clean away buildup before deciding whether to reuse it.
Remove a Toe-Touch or Pop-Up Drain
A toe-touch drain generally operates with a spring-loaded mechanism. To remove it, keep the stopper open and turn the top portion counterclockwise. Depending on the model, the cap and shaft may come out together or separately.
A pop-up drain can be slightly more complicated because an attached linkage may control its movement. Carefully lift the stopper and inspect how the parts connect.
Lay every component on a towel in the order you remove it. This simple habit makes reassembly much easier.
If the stopper is difficult to turn by hand, don’t immediately grab heavy tools. A small amount of controlled pressure is usually safer than forcing the mechanism. Upfront Bathrooms can also assist when a damaged or corroded stopper makes DIY removal difficult.
Handle a Trip-Lever Drain Carefully
A trip-lever drain is connected to the overflow opening on the side of the bathtub. Instead of directly controlling the drain stopper from above, the lever moves an internal mechanism.
Start by moving the lever to its open position. Locate the screws on the overflow plate and remove them carefully. Hold the plate securely as you pull it outward because a connected linkage may come out with it.
The internal assembly may include a plunger or other components. Pull it out slowly and keep the pieces together.
Do not yank the linkage if it feels stuck. Older parts can become corroded, and excessive force may separate components inside the overflow drain. If the mechanism is damaged, replacing the entire stopper set may be more practical than repairing individual parts.
When You Need a Drain Wrench
Sometimes removing the stopper is only the beginning. If you need to remove drain components or remove the entire tub drain basket, you may need a drain wrench.
The drain basket sits inside the bathtub and connects the tub to the plumbing below. After removing the stopper, inspect the center of the drain opening. A drain wrench grips the inside of the drain fitting so you can turn it without unnecessarily damaging the surrounding bathtub surface.
Turn the fitting counterclockwise when loosening it. If it is tightly secured, avoid repeatedly applying extreme pressure. Old plumbing connections can be fragile, and damaging the fitting may turn a simple maintenance task into a larger repair.
For difficult drain removal, Upfront Bathrooms can provide professional assistance to protect the tub and surrounding plumbing.
Clean the Tub Drain and Parts
Once the stopper is out, take advantage of the opportunity to clean the drain opening and surrounding components. Hair and soap residue often collect beneath the stopper, which can restrict water flow.
Use a soft brush or cloth to remove visible debris. Wash removable parts with warm water and mild soap. Check threads, seals, springs, and other parts for signs of wear.
This is also a good time to inspect the drain for corrosion. A damaged gasket or worn stopper can let water leak slowly into hard-to-see areas.
Keep harsh chemicals away from delicate finishes unless the manufacturer specifically recommends them. Mechanical cleaning is often enough for routine buildup.
Upfront Bathrooms understands that small bathroom maintenance tasks can reveal larger plumbing concerns, so careful inspection is always worthwhile.
What If the Stopper Will Not Come Out?
A stubborn stopper does not necessarily mean that you’re doing something wrong. Rust, mineral deposits, soap buildup, and years of use can cause components to stick together.
First, confirm whether the stopper has a set screw or another locking mechanism. Check the top and sides carefully before applying additional pressure.
For a threaded stopper, gentle counterclockwise movement may eventually loosen the connection. If you use pliers, protect the finish with a cloth and grip the component carefully.
If the stopper still will not move, stop rather than forcing it. A damaged stopper can make the repair more complicated, particularly if the internal parts break inside the tub drain.
This is where Upfront Bathrooms can provide practical help. Professional attention can reduce the risk of damaging the bathtub, drain assembly, or surrounding fixtures.
Reinstall the Stopper and Test the Bathtub
After cleaning or replacing the stopper, reinstall all parts carefully. Follow the reverse order of removal and make sure each connection is secure.
For a threaded stopper, turn it clockwise until it sits properly. Do not overtighten it. If your bathtub uses a lever system, reinstall the overflow plate and make sure the lever moves smoothly.
Run some water into the tub and test the stopper several times. Watch how quickly the water drains when the stopper is open. Then close it and check whether the tub holds water properly.
If water continues to drain when the stopper is closed, the mechanism may need adjustment. A trip lever or pop-up assembly may not be positioned correctly.
Testing the system right away helps you catch problems before you put your tools away.
When to Call Upfront Bathrooms
Learning how to remove bathtub stopper components helps with routine cleaning, but not every drain issue is suitable for DIY work. If the drain fitting is badly corroded, the linkage is broken, or water leaks around the drain, professional help may be the safer choice.
You should consider professional help when:
- The stopper or drain will not move despite gentle attempts.
- Plumbing components are visibly corroded or damaged.
- Water continues leaking after the stopper is reinstalled.
- The overflow mechanism does not operate correctly.
- You suspect a deeper plumbing problem beneath the bathtub.
A bathroom should be both functional and comfortable. Upfront Bathrooms brings practical experience and attention to detail to bathroom-related projects, helping homeowners address problems without unnecessary complications.
Keep Your Bathtub Drain Working Smoothly
Removing a bathtub stopper is often straightforward once you understand the mechanism you’re working with. The key is to work patiently, keep track of small parts, and avoid forcing connections that may be corroded or fragile.
Regularly cleaning the stopper and tub drain can help prevent hair and residue buildup. Also check faucets, shower fixtures, and other bathroom components during routine maintenance.
For homeowners who prefer professional workmanship, Upfront Bathrooms is ready to help with bathroom projects and services that require careful attention.
A clean, properly functioning drain can make a noticeable difference in your everyday bathroom experience. If a stubborn stopper, damaged drain, or other bathroom concern is getting in the way, Upfront Bathrooms can provide dependable professional assistance. Reach out today and take the next step toward a cleaner, more comfortable, and better-functioning bathroom.