
A clean shower should feel like a fresh start, not a reminder of stubborn stains and unwanted odors. Unfortunately, warm temperatures, trapped moisture, and poor ventilation can turn your shower into the perfect environment for mold. Those dark spots around the grout, corners, and caulking may seem harmless at first, but ignoring them can lead to persistent mold growth and damage to bathroom surfaces.
Learning how to clean mold in shower areas can help you maintain a healthier, more attractive bathroom. The good news is that many small patches of surface mold can be cleaned with the right products and techniques. However, recurring mold or growth hidden behind damaged materials may require professional attention. Upfront Bathrooms understands the importance of a clean, comfortable bathroom and the role that quality materials and proper installation play in maintaining it.
How to Clean Mold in Shower Areas Safely
Before starting any mold cleaning project, identify where the mold is growing and determine how extensive the problem appears. Mold commonly develops along shower grout, silicone caulking, corners, and areas where water collects. It may also appear on shower doors, tile surfaces, and other damp materials.
Begin by opening a window or turning on the exhaust fan to improve ventilation. Wear household cleaning gloves and eye protection, and follow the instructions on any cleaning product you use. Avoid dry brushing visible mold because this can release mold spores into the air.
For small areas of surface mold on washable, nonporous materials, an appropriate household cleaner may be sufficient. Always test the product on an inconspicuous spot first to check for discoloration or damage. If the affected areas cover a large space, keep returning despite repeated cleaning, or appear to extend behind walls, professional assessment may be necessary.
Prepare Your Bathroom Before Mold Removal
Successful mold removal starts with proper preparation. Remove shampoo bottles, soap dispensers, bath mats, and other items around the shower so you can reach every affected area. Wash removable items separately when appropriate, and clean the surrounding surfaces to prevent dirt and soap residue from interfering with the process.
Next, inspect the shower for leaking fixtures, loose tiles, cracked grout, and deteriorating shower caulking. These problems can allow moisture to collect beneath the surface, encouraging mold growth even after visible stains disappear.
Choose a cleaner that is suitable for the material you intend to clean. Keep the room ventilated throughout the process, and never combine different cleaning chemicals. In particular, mixing bleach with vinegar, ammonia, or other cleaners can produce dangerous gases.
Taking a few minutes to prepare your bathroom makes cleaning easier and helps you identify moisture problems that need more than a surface treatment.
Use Vinegar to Treat Suitable Shower Surfaces
White vinegar is a popular household option for cleaning certain bathroom surfaces. Its acidity can help loosen some deposits and treat limited surface contamination. However, vinegar is not appropriate for every material, and it should not be considered a guaranteed solution for every type of mold.
For a small patch on a compatible surface, apply plain white vinegar according to a cautious cleaning approach. You can place it in a clearly labeled spray bottle, apply it to the affected area, and allow suitable contact time based on the cleaning method and surface. Gently scrub the area with a nonabrasive brush, then rinse if appropriate for the material.
Avoid using vinegar on natural stone, including marble and some limestone surfaces, because its acidity can damage the finish. It may also affect certain grout sealers and other sensitive materials.
If vinegar does not remove the stain or the mold returns shortly after cleaning, do not keep applying more product indefinitely. The underlying issue may involve persistent moisture, damaged grout, or contamination beneath the visible surface.
When to Use Hydrogen Peroxide as a Cleaner
Hydrogen peroxide is another option for selected bathroom cleaning tasks. It can help treat certain surface stains and microorganisms, but its effectiveness depends on the concentration, surface, and application method.
For appropriate surfaces, use a commercially prepared hydrogen peroxide product according to its label. Apply it only where the manufacturer permits, allow the recommended contact time, and clean the area as directed. Avoid spraying it near your eyes, and protect clothing and surrounding finishes from possible bleaching or discoloration.
Although people sometimes refer to hydrogen peroxide simply as peroxide, the concentration matters. Do not assume that a stronger solution is safer or more effective for household mold removal.
Never mix hydrogen peroxide with vinegar or other cleaning products. Combining chemicals can create hazardous reactions or irritating substances. If you are uncertain whether a cleaner is compatible with your shower tiles, grout, or fixtures, check the manufacturer’s instructions before use.
Scrub Shower Grout Without Damaging It
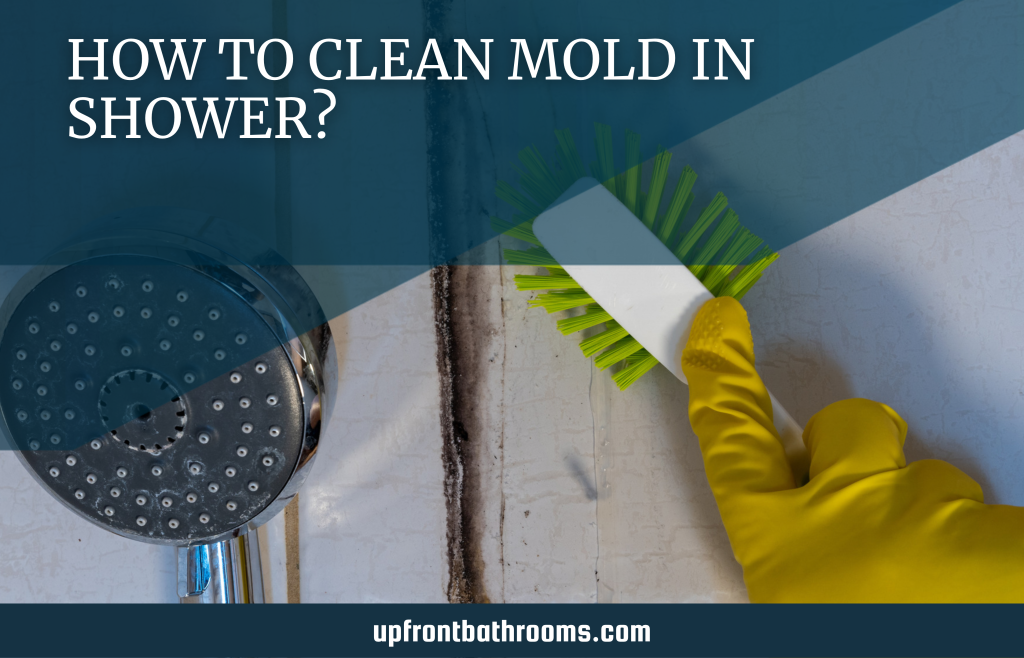
Grout can be especially difficult to clean because its porous texture allows moisture and residue to collect. When soap scum and dampness remain in the joints between tiles, visible shower mold can develop and become stubborn over time.
Use a soft or medium-bristled brush with a suitable bathroom cleaner to gently scrub the affected grout. Work in manageable sections rather than trying to clean the entire shower at once. A dedicated grout brush can help you reach narrow joints and corners.
A Mr. Clean handheld iron scrub brush may be considered for certain durable surfaces, but a metal-bristled brush is generally too aggressive for delicate grout, caulking, and finished tile. A nonmetallic brush is usually the safer choice because it reduces the risk of scratching surfaces or wearing away grout.
After cleaning, rinse away the residue if the product instructions require it, then wipe it with a clean cloth. Allow the grout to dry completely and inspect it under good lighting.
If the grout is crumbling, deeply stained, cracked, or repeatedly affected by mold, simple cleaning may not be enough. Damaged grout may need repair or replacement to help protect the shower assembly from moisture intrusion.
How to Remove Mold From Shower Caulking
Shower caulking deserves special attention because it seals joints around tubs, corners, fixtures, and other connections. When caulking becomes cracked, loose, or discolored, moisture can collect behind it and create conditions that encourage mold growth.
Start by cleaning the surface with a compatible product and following the recommended application instructions. Some superficial discoloration may improve with appropriate cleaning, but mold that has penetrated porous or deteriorating sealant may not disappear completely.
If black spots remain embedded in the caulking or the material is peeling away, replacing the affected sealant may be a better long-term solution. The old caulk should be removed carefully, the joint cleaned as appropriate, and the area allowed to dry fully before new bathroom-grade sealant is applied.
Do not apply fresh caulking over existing mold or damp material. Doing so can trap moisture and leave the underlying problem unresolved.
Upfront Bathrooms can help homeowners consider bathroom improvements when damaged finishes, failing seals, or persistent moisture problems affect the appearance and usability of a shower.
What to Know About Black Mold in the Shower
Black mold is a common concern for homeowners, particularly when dark patches appear around tile joints or bathroom corners. However, color alone cannot reliably identify a mold species. Different types of mold can look similar, so it is not possible to confirm that a patch is a particular species simply by looking at it.
Regardless of its color, visible mold indicates that moisture control and cleaning deserve attention. Some people are particularly sensitive to mold and may experience irritation or allergic symptoms when exposed. Persistent dampness can also contribute to material deterioration.
Small amounts of surface mold on suitable, nonporous materials may be manageable with careful cleaning. Larger areas, recurring contamination, or mold associated with water damage call for professional evaluation. If you suspect mold behind walls, under flooring, or inside other concealed spaces, avoid disturbing the material unnecessarily.
Seek qualified advice when the problem is extensive, when you cannot identify the moisture source, or when occupants have health concerns. Proper assessment can help determine whether surface cleaning, material replacement, or more comprehensive remediation is appropriate.
Prevent Mold Growth With Better Bathroom Ventilation
Cleaning removes visible mold, but preventing its return depends on controlling moisture. Every shower introduces warm, humid air into the room. When that moisture remains trapped, it can settle on walls, ceilings, grout, and caulking, creating conditions that support future growth.
Make ventilation part of your everyday routine. Run the exhaust fan during showering and continue using it afterward according to the manufacturer’s guidance. If your fan is noisy, ineffective, or unable to clear condensation, check whether it needs maintenance or professional attention.
The following habits can also help keep moisture under control:
- Wipe it down: Use a squeegee or clean cloth to remove excess water from shower walls, doors, and other suitable surfaces after bathing.
- Keep air moving: Open a window when weather and privacy allow, and make sure the exhaust fan is working properly.
- Hang towels to dry: Avoid leaving wet towels and bath mats in piles where moisture can linger.
- Check for leaks: Inspect showerheads, faucets, plumbing connections, and visible seals for dripping water.
- Clean regularly: Remove soap residue and buildup before they become difficult to manage.
- Maintain the grout and caulking: Repair damaged joints promptly so water does not collect where it should not.
These simple steps reduce the time surfaces remain wet and make it easier to keep your shower fresh between deeper cleanings.
When Professional Bathroom Help Makes Sense
Not every mold problem can be solved with a spray bottle and a scrub brush. If the same spots keep returning, the shower remains damp long after use, or tiles and sealant show signs of damage, it may be time to look beyond routine cleaning.
Repeated mold growth can indicate a ventilation problem, a plumbing leak, deteriorating grout, or moisture trapped behind finished surfaces. Addressing only the visible stain may leave the actual cause untouched.
Upfront Bathrooms can help homeowners explore bathroom upgrades and improvements when aging shower finishes, damaged caulking, or an outdated layout make maintenance more difficult. Depending on the situation, improvements to the shower area and its materials may make routine cleaning easier and help reduce places where moisture can linger.
The right solution depends on the condition of your bathroom, the source of the moisture, and the extent of the damage. A careful assessment is more useful than repeatedly treating the same stain without understanding why it returns.
Keep Your Shower Cleaner, Fresher, and Easier to Maintain
A mold-free shower begins with consistent care, suitable cleaning products, and effective moisture control. By addressing surface mold safely, maintaining your grout and caulking, and using your exhaust fan regularly, you can reduce the conditions that allow mold to return.
If recurring shower mold, damaged finishes, or persistent moisture are making bathroom maintenance frustrating, Upfront Bathrooms can help you explore practical improvements that support a cleaner, more comfortable space. Take the next step toward a bathroom that looks better, works well, and is easier to maintain for years to come.
Contact Upfront Bathrooms today to discuss your bathroom improvement needs and discover how the right upgrades can help you enjoy a fresher shower environment.